Encircle Product Updates 6 min Encircle X Tramex: Error-free moisture data is one click away Read blog
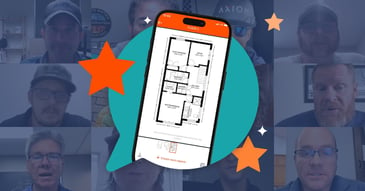
Encircle Product Updates 6 min Encircle Floor Plan + Xactimate continues to change the sketching game Read blog
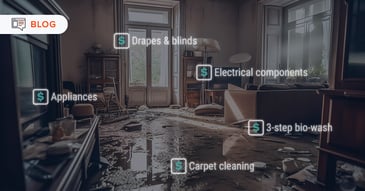
Profitability 5 min Encircle: Simplifying job documentation to maximize ROI for restoration businesses Read blog
Disaster Response (CAT) 5 min First General’s Rapid Response with Encircle Floor Plan Read Customer Story
Encircle Product Updates 4 min Introducing quick add equipment: flexibility and speed in the field Read blog
Business Management 60 MIN Attracting & retaining top talent in the restoration industry: The next 5 years Watch Webinar
Water Damage Restoration 9 min Choose the right water mitigation software for your restoration business Read blog
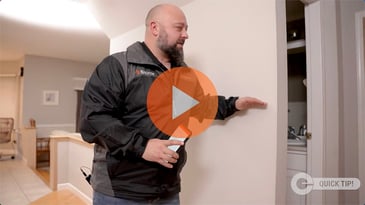
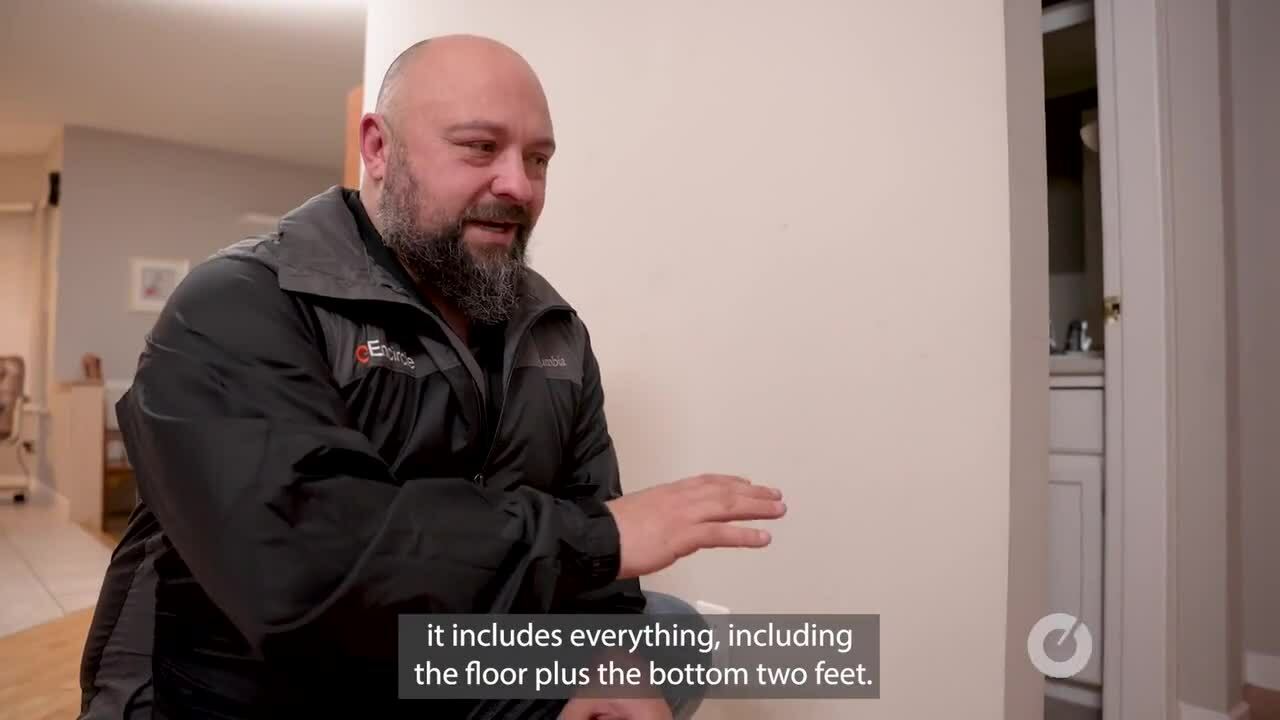
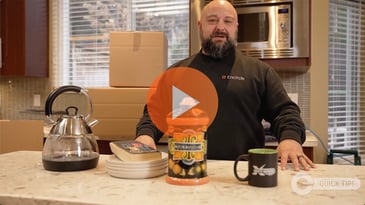
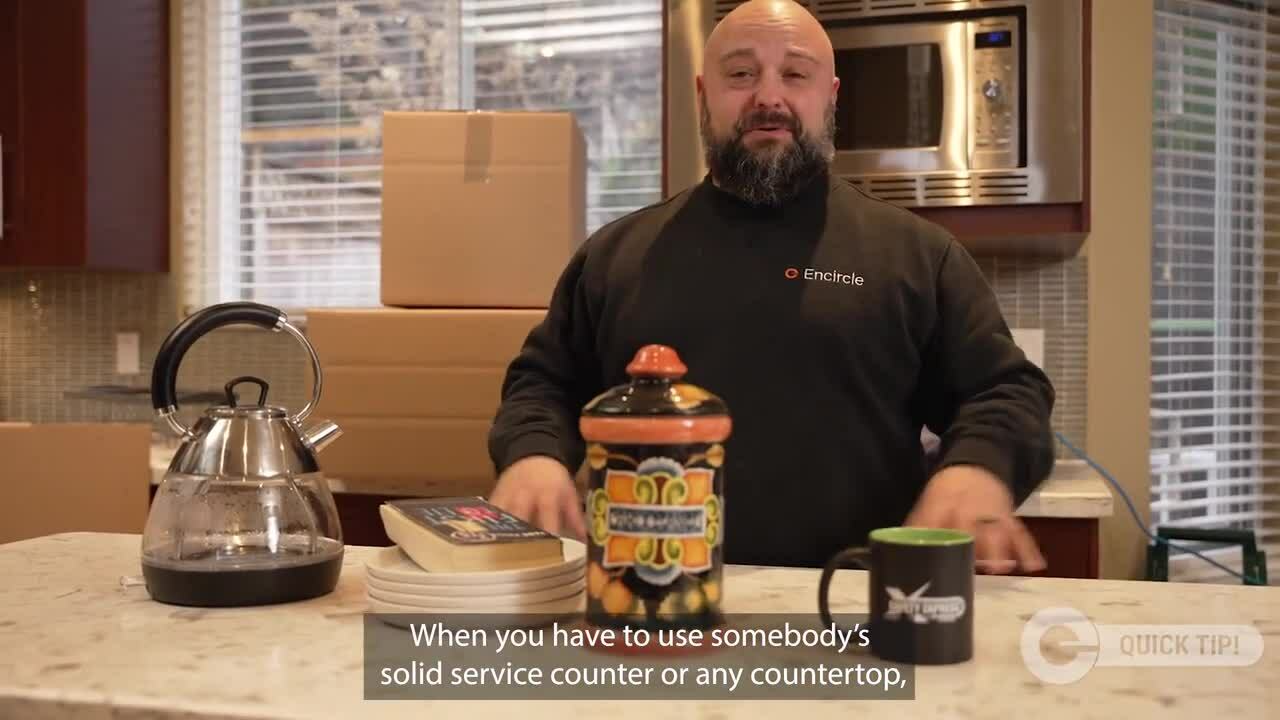
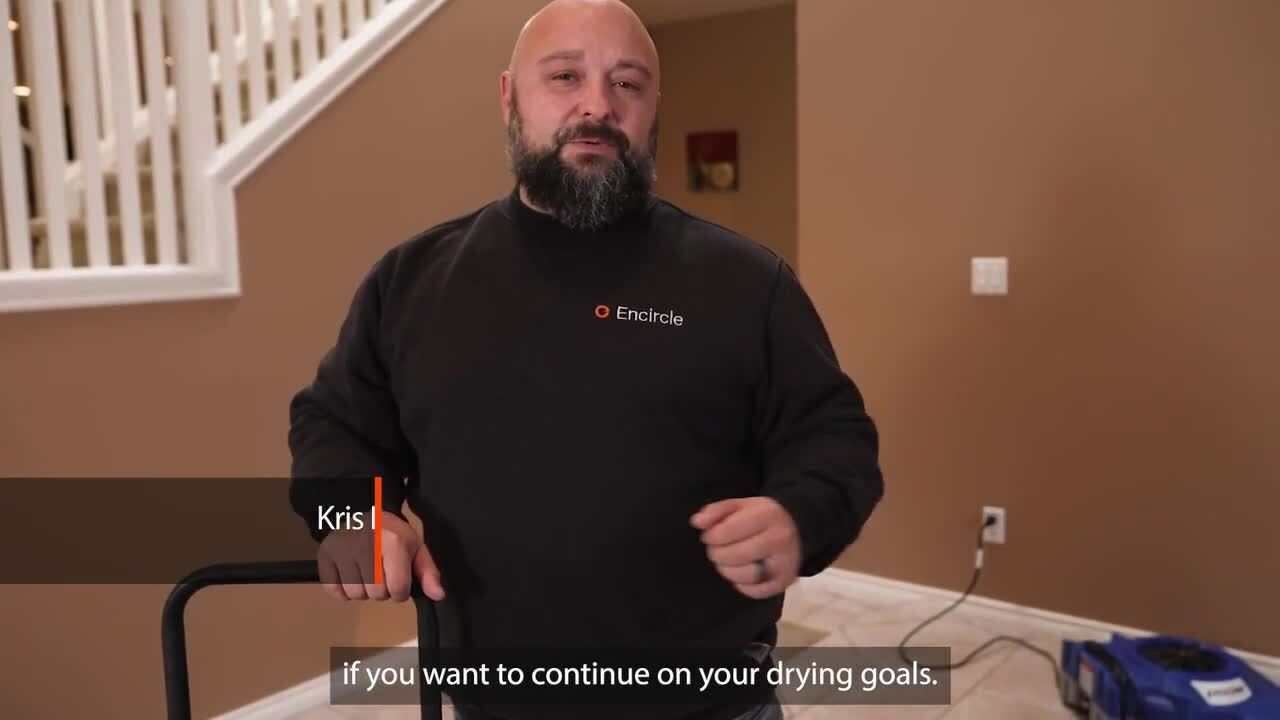
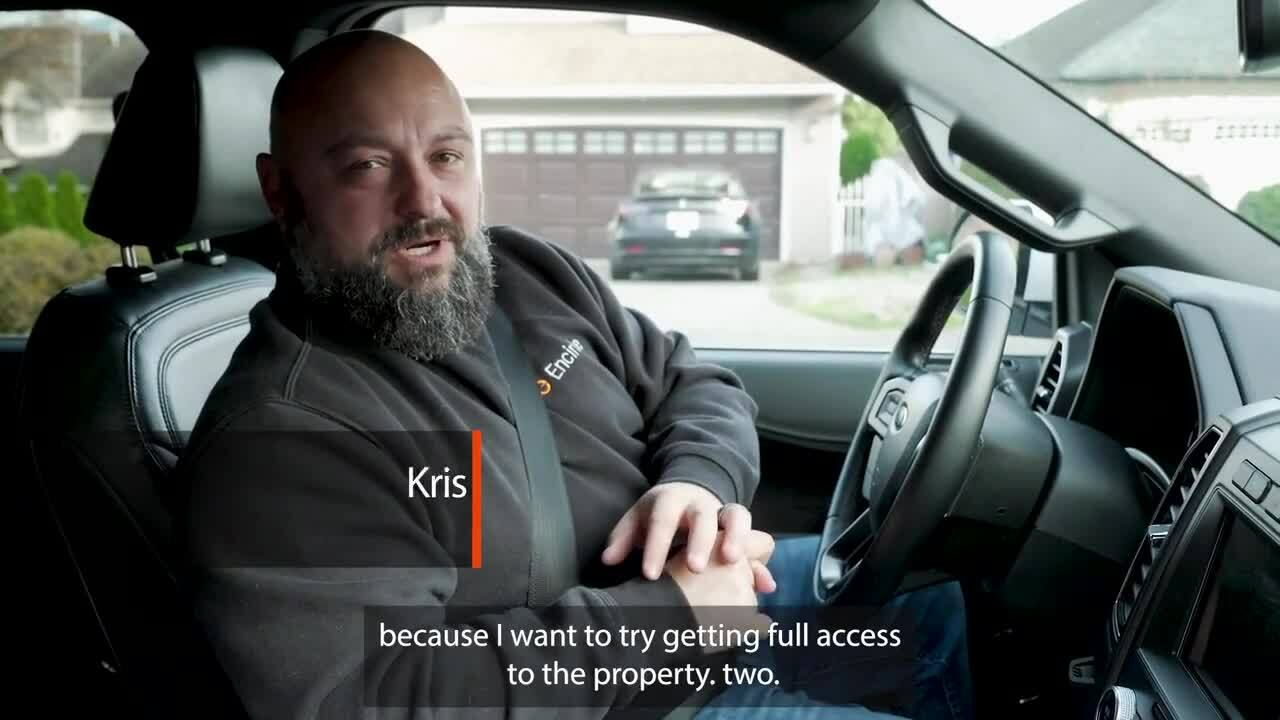
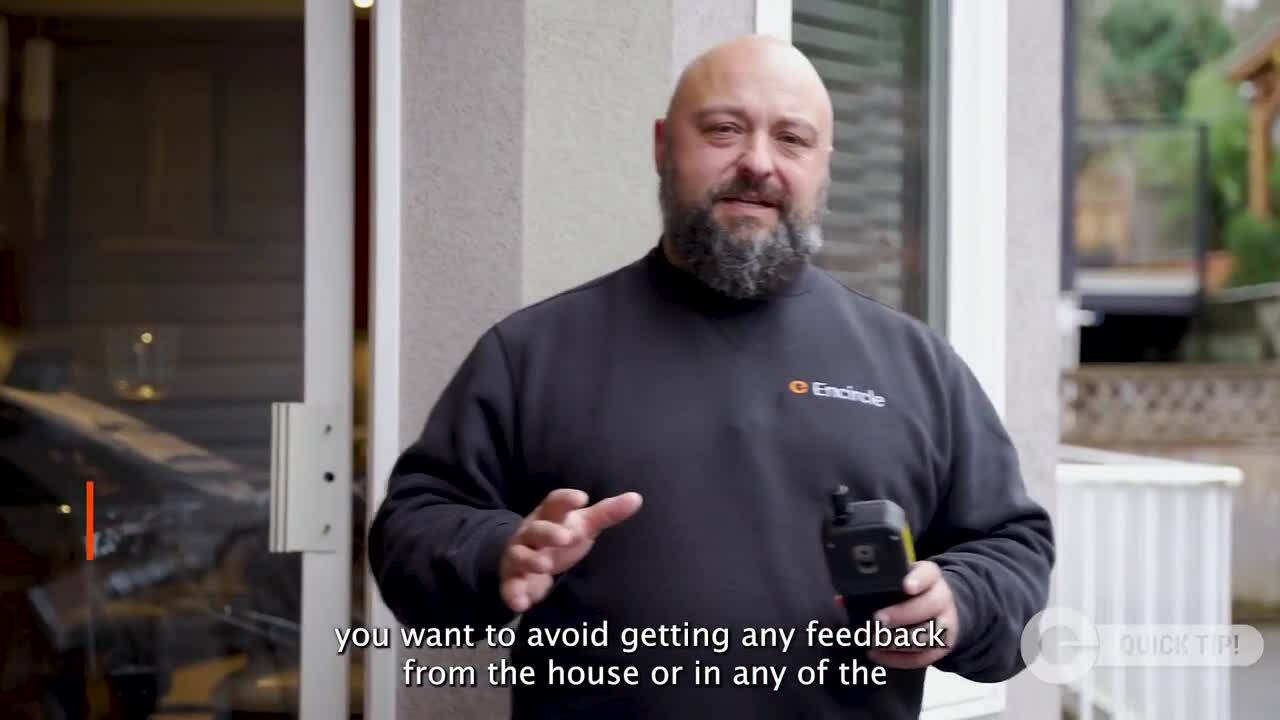
Field Documentation 12 min 6 field-tested tips for better visual documentation in restoration projects Read blog
Encircle Product Updates 7 min How video documentation makes restoration claims easier and reduces disputes Read blog
Business Management 60 MIN Leadership in Restoration: Inspiring field teams to do the damn (documentation) thing. Watch Webinar
Business Management 9 min Cracking $5 Mil - Restoration 1 of Washington’s recipe for success Read Customer Story
Business Management 12 min How to hire & support top sales talent for your restoration business Read blog
Business Management 9 min Why off-season is your best bet for investing in restoration software Read blog
Water Damage Restoration 80 MINUTES Certified Restorer Ken Larsen answers restorative drying questions in-depth. Watch Webinar
Business Management 8 min Don’t wait for CAT season: 5 key rules for using software in your restoration business Read blog
Business Management 10 min Making sustainability work in property restoration: A practical guide Read blog
Business Management 6 min Cut contents packout chaos: Contech Pros reduces paperwork time by 60% with Encircle Read Customer Story
Business Management 60 MIN Committing to eco-friendly practices in property restoration Watch Webinar
Disaster Response (CAT) 6 min Swift and smart: Leveraging data for effective CAT response planning Read blog
Contents Management 5 min Contents restoration challenges: 4 common issues and how to tackle them Read blog
Restoration Technology 7 min Simplify your site work: Encircle’s hassle-free field documentation Read blog
Business Management 10 min Restoration experts weigh in: 5 ways to tackle the labor shortage Read blog
Field Documentation 9 min 55% faster estimates: A third-party estimator's win with AfterShock and Encircle Read Customer Story
Disaster Response (CAT) 9 min How to handle CAT claims without the stress: A guide for smoother restoration workflows Read blog
Water Damage Restoration 9 min Your quick guide to 5 common questions in restorative drying Read blog
Business Management 9 min 7 essential marketing strategies to grow your restoration business Read blog
Business Management 12 min THESE are the top questions you asked about property restoration Read blog
Business Management 8 min How Parker Young made sketching 94% faster with Encircle Floor Plan + Xactimate Read Customer Story
Business Management 13 min Learn and earn IICRC CE credits with our most popular resources for restorers Read blog
Encircle Product Updates 4 min More pics with less clicks: Encircle’s latest camera updates Read blog
Encircle Product Updates 60 MIN Accelerate your Xactimate estimates with Encircle Floor Plan Watch Webinar
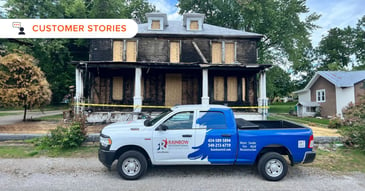
Business Management 8 min How Rainbow Restoration swapped old sketches for quick, easy digital floor plans with Encircle + Xactimate Read Customer Story
Water Damage Restoration 165 PAGES Restorative drying made SIMPLE! Now earn 5 IICRC CE credits! Download eBook
Field Documentation 3 min Top 5 reasons front-line techs Need to be involved in documenting claims Read blog
Business Management 6 min How Ultra Clean Service Corp used Encircle to increase job profits Read Customer Story
Restoration Technology 35 MIN Encircle Floor Plan + Xactimate Integration - On demand: Launch Party Watch Webinar
Water Damage Restoration 3 min Why you should consider a digital tool for moisture documentation Read blog
Encircle Product Updates 3 min What's new in Hydro - Encircle's moisture documentation tool Read blog
Disaster Response (CAT) 5 min Strategies to help restoration teams and businesses handle disasters Read blog
Business Management 3 min 3 factors to consider when establishing strong documentation SOPs Read blog
Field Documentation 85 MIN Documentation 101 - Field documentation strategies from experts Watch Webinar
Business Management 4 min Leverage the IICRC & OSHA to *help* your property restoration business Read blog
Business Management 7 min Congrats to the winners of the 2023 Encircle Admin Appreciation Awards Read blog
Field Documentation 8 min MacFawn uses Hydro to stop getting hosed on mitigation invoices Read Customer Story
Business Management 8 min Restoration Made Simple + Encircle = up to 4x higher profit per job Read Customer Story
Business Management 5 min Control property restoration jobs from the first call with this script Read blog
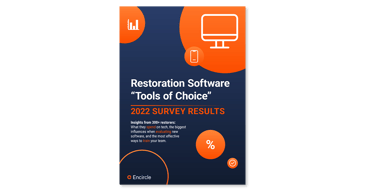
Restoration Technology 32 PAGES Restoration Software Tools of Choice Survey Report 2022 Download eBook
Field Documentation 8 min Speedy Restore saves hours in the field with Encircle Floor Plan Read Customer Story
Restoration Technology 5 min How to minimize risk when investing in new property restoration software Read blog
Encircle Product Updates 2 min What early testers are saying about our new 2D floor plan feature Read blog
Business Management 6 min Top 5 free restoration industry resources for restorers from Encircle Read blog
Business Management 8 min Adopting technology in the restoration industry: top tips to engage Read blog
Encircle Product Updates 16 min What the Floor Plan!? Answers to FAQs about our 2D floor plan feature Read blog
Water Damage Restoration 5 min The Mold Pros: Better data, better business, better health Read Customer Story
Business Management 7 min Conquering tech training challenges with property restoration software Read Customer Story
Encircle Product Updates 9 MINS Encircle Floor Plan: Get a 2D floor plan with dimensions within 6 hrs Read blog
Disaster Response (CAT) 5 min No internet? No problem! Encircle’s Offline Mode has you covered Read blog
Encircle Product Updates 5 min It was the Restorer in the Living Room with the Encircle App Read blog
Encircle Product Updates 7 min Here's what you need to know about Encircle's 2D floor plan feature Read blog
Fire & Smoke Damage Remediation 10 min Pure Restore uses Encircle to handle Marshall Fire job influx Read Customer Story
Business Management 6 min Grow your restoration business: 3 benefits of eco-friendly practices in property restoration Read Customer Story
Business Management 5 min Sustainability in property restoration: PPCR’s proactive approach Read Customer Story
Field Documentation 4 min Shamrock Restoration rises to top using Encircle app's video feature Read Customer Story
Profitability 6 min Xact Mitigation Consultants use Encircle to up clients’ earnings 20% Read Customer Story
Water Damage Restoration 4 min Restorers want choice in water mitigation software – not mandates! Read blog
Water Damage Restoration 4 min 3 disaster mitigation reports restoration contractors need to get paid Read blog
Contents Management 5 min Rytech franchise uses Encircle to boost profit by 20% on contents jobs Read Customer Story
Water Damage Restoration 5 min Expert insight: 10 things a trainer thinks every restorer should know Read blog
Water Damage Restoration 3 min How measuring air and materials makes or breaks your drying process Read blog
Disaster Response (CAT) 3 min How thorough disaster reporting protects your business & your clients Read blog
Encircle Product Updates 4 min The latest features from Hydro, Encircle's water mitigation software Read blog
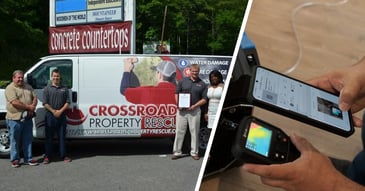
Water Damage Restoration 7 min Crossroads deploys Encircle Hydro to protect profits on water jobs Read Customer Story
Field Documentation 2 min Why reconstruction progress reports are critical for restoration jobs Read blog
Restoration Technology 5 min Ideal SF leverages software integrations to improve client experience Read Customer Story
Encircle Product Updates 3 min How to protect your employees and reduce liability with documentation Read blog
Field Documentation 3 min 3 Photography tips to help restoration contractors get paid faster Read blog
Encircle Product Updates 4 min New: EncircleU delivers fast and interactive online learning Read blog
Field Documentation 6 min 911 Restoration Successfully Uses Encircle for Large Contents Claim Read Customer Story
Restoration Technology 5 min PuroClean Northwest’s ingenuity solves dispersed admin team Read Customer Story
Business Management 6 min Encircle helps Premier instantly share field data with office Read Customer Story
Field Documentation 106 MIN Documenting claims: When restorers are not prepared, bad things happen Watch Webinar
Restoration Technology 6 min Increasing work capacity through technology rather than brute force using Encircle Read Customer Story
Business Management 4 min Hudson Restoration reaping the rewards of efficiency with Encircle Read Customer Story
Field Documentation 82 MIN Discussion with Kris on the First 3 Chapters of BADA$$ Documentation Watch Webinar
Business Management 5 min Game-changing results using Encircle power Paul Davis to the top Read Customer Story
Business Management 3 min Administrative Strategies, LLC improves response rates with Encircle Read Customer Story
Restoration Technology 4 min Quality First Builder's efficiencies improved using Encircle Read Customer Story
Business Management 3 min Customer spotlight: CDRG and RedTeam use Encircle to reduce cycle times. Read Customer Story
Disaster Response (CAT) 4 min Encircle streamlines documentation during Hurricane Harvey clean-up Read Customer Story
Restoration Technology 4 min Paul Davis London uses Encircle to close the communication gap between field and office Read Customer Story
Disaster Response (CAT) 4 min Encircle improves efficiency during costliest disaster in Canada Read Customer Story
Business Management 4 min FireStar Uses Link by Encircle to Gain Remote Visibility into Losses Read Customer Story
Business Management 35 MIN Learn how to set up your field team for success & crush KPIs Watch Webinar
Restoration Technology 3 min Encircle Helps PuroClean Chicago Impress Carriers with Solid Reports Read Customer Story
Restoration Technology 4 min Encircle Helps Superior Restoration DKI Improve Insurance KPIs Read Customer Story
Restoration Technology 5 min First General Increases Customer Rating and Improves Productivity using Encircle Read Customer Story
Disaster Response (CAT) 4 min Claims insight: Making Encircle part of your catastrophe protocol Read blog